Portal Settings
Administration > System Setup > Portal Settings
Portal Settings defines the page size and customizes the title for your pages.
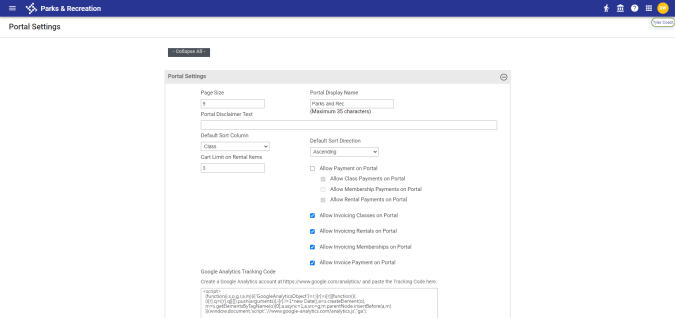
The Portal Display Name provides the name that displays in the banner of your organization’s portal page. The Portal Disclaimer Text field contains a waiver statement or terms and conditions that display on the Email page for portal registrations. If you enter text in this box, the Email page includes an Accept check box that users must select to complete a registration successfully. If you do not enter text in this box, waiver text and the Accept check box do not appear on the Email page of the portal.
The Default Sort Column and Default Sort Direction fields define the column by which searches on the citizen portal of Parks & Rec sort and the sorting order they use. Available columns for sorting searches include Class Name, Description, Date, Fee and Age. Searches may be set to sort in ascending or descending order.
The Cart Limit on Rental Items field defines the number of rental items a registrant may reserve at one time.
The Allow Payment on Portal checkbox determines whether credit card payments are enabled or disabled on the portal. Mark this checkbox to enable the checkboxes for class, membership and rental payment types. Mark the payment types to allow. To disable all payment types, clear the Allow Payment on Portal checkbox.
Selecting the appropriate Allow Invoicing ... check box lets citizens completing class, rental or membership registrations from your organization's citizen portal request to be invoiced for the registrations in place of direct payment.
Selecting the Allow Invoice Payment on Portal check box makes the User Order History page available in the user's profile on the citizen portal and allows the user to pay invoices from the portal.
Use the Google Analytics Tracking Code field to compile usage information for your citizen portal. You must have a Google Analytics™ service account to use this feature.
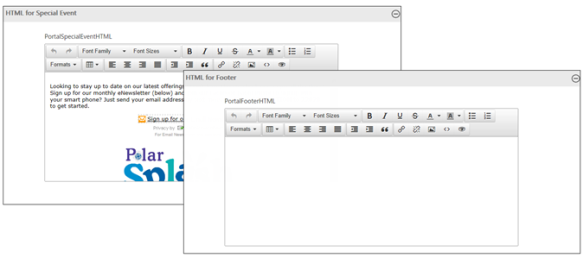
The HTML for Special Event and HTML for Footer text editors provide additional text to display on your home page. These editors include various formatting tools to create text with a graphic appeal.
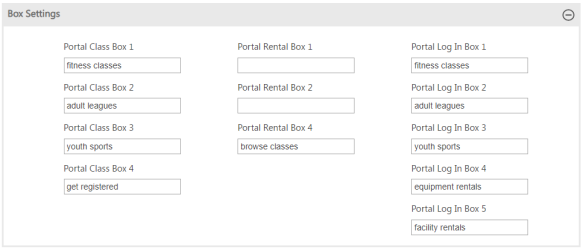
The Box Settings section assigns activities or events that display on the portal sign-in page. Currently, Portal Rental Box fields 1 through 3 are not used. The Portal Class Box 4 value defines the left action button on the main portal page and the value of the Portal Rental Box 4 defines the right action button.
The Registration, Facility, Class, and Membership setting sections determine whether the applicable buttons display in the portal. If you select a Display check box, enter the button label as it should display in the portal; for example, the Setting section provides the Display Registration Button in Portal check box and the Portal Get Registered button. If you select the Display Registration Button in Portal check box, enter the button label as it should display in the portal.
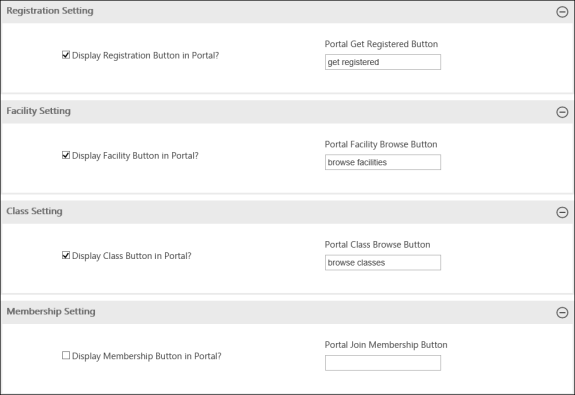
For Facility settings, if you select the Display check box, the citizen portal includes the option for browsing rental facilities. When you select this check box, use the Portal Facility Browse Button field to define the name for the facility option that displays in the portal.
When the Show on Portal check box is selected for rental facilities and the Facility button is enabled, the rental facility is included on the facilities browse list for portal users.
When the Allow Portal Registration check box is selected for a rental item, the Register button is enabled when users review available facility dates. In this case, users may complete the registration process directly from the portal.
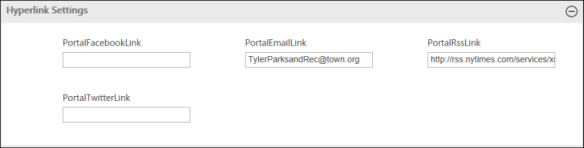
The Hyperlink Settings section assigns hyperlinks to the media bar on the main portal page. Currently, the media bar displays all options, even if you do not provide a hyperlink setting. In this case, if a user clicks one of the media options, there would be no system response to the action.
Portal Logo and Portal Background provide the Upload option for customizing images for your Parks & Rec pages. The program accommodates only one file for the logo or background. Before uploading, you must delete any existing files. To view an existing image, click the Display button.
The background image fills the entire background of your organization’s home page, while the logo displays throughout the portal pages.

The logo has maximum width and height settings to maintain the aspect ratio of the image. If an uploaded image is larger than 230 px by 80 px, it is cropped automatically.
When you hover your pointer over the help button on the Upload page, upload details are displayed.
